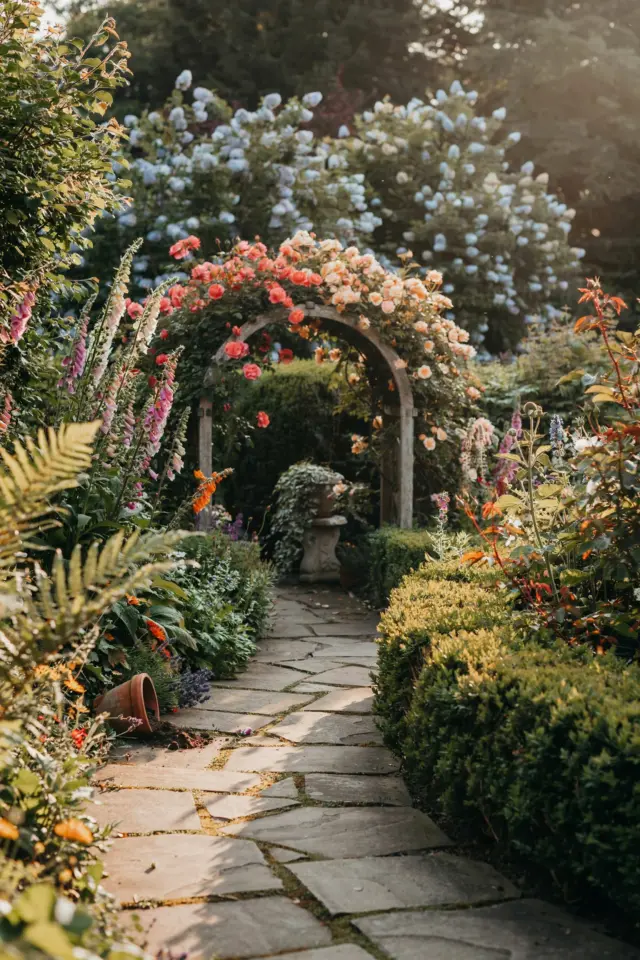
Why choose gravel stabilising grids for garden paths
If you have ever stepped off a garden path and watched the gravel skid sideways or sink into mud after a rain shower, you know the frustration. Gravel stabilising grids solve that problem without turning your weekend project into a costly contractor job. These plastic honeycomb or mesh panels lock stones in place so your path stays tidy, even after a downpour. Best of all, you can install them yourself for a fraction of what a paved surface would cost.
The idea is simple: you lay the grid directly on prepared ground, fill it with gravel, and the cell walls keep each stone from wandering. No special tools, no wet concrete, no waiting for cure time. For a DIY garden path that actually lasts, these grids are one of the most budget-friendly upgrades you can make.
How a permeable driveway saves you money over time
A permeable driveway is not just an eco-friendly buzzword. When rain can soak through the surface instead of running off, you avoid puddles, erosion and frost heave that crack solid asphalt or concrete. With gravel stabilising grids, the water drains right through the base, which means your driveway stays level and you do not have to keep topping it up with fresh stone.
Over three or four years, the savings on gravel replacement alone can cover the cost of the grids. You also skip expensive drainage solutions like French drains or catch basins. If you are on a tight budget, that is real money you can put toward plants, furniture or a nicer gate.
What to look for in a gravel patio grid system
Not all gravel patio grids are the same, and a little research upfront saves headaches later. Here is what matters most when you are shopping on a budget:
- Cell size. Look for grids with holes roughly 50mm to 80mm wide. Too small and the gravel sits on top rather than locking in. Too large and small stones slip through the bottom.
- Material thickness. A good grid is at least 30mm tall and made from recycled polypropylene. Thinner panels work for light foot traffic but buckle under a car or wheelbarrow.
- Interlocking edges. Panels that click or snap together prevent gaps from forming over time. Loose panels shift, and shifting means weeds and uneven spots.
- UV stabilisation. Cheap grids can become brittle after two summers in the sun. Spend a little extra on UV-rated material and your path will last a decade or more.
I have used both budget rolls and rigid interlocking tiles. For a DIY garden path, the interlocking panels are easier to handle and give a flatter finish. Rolls can be fussy on curves.
Step by step installation for the DIY homeowner
You do not need a digger or a compactor to get good results, though a hand tamper helps. Start by marking your path with string and a spade. Remove turf and any large roots to a depth of about 100mm. That gives you room for a 50mm sub-base of crushed stone and then the grid itself.
Lay a weed membrane over the compacted sub-base. This stops soil from migrating up into the gravel. Then place your grids, starting from one end and clicking each panel into the next. Once the whole path is covered, fill the cells with your chosen gravel. A 10mm to 14mm angular stone works best, rounded pebbles tend to pop out.
Sweep the gravel into the cells, tamp it down gently, and add a top-up layer until the grid is full but the stones are just below the top edge. Water the path lightly to settle everything, then add a final handful of gravel to any low spots. That is it. You can walk on it the same day.
Designing with gravel grids for a cohesive garden look
A gardendesign that uses gravel grids does not have to look industrial. You can choose a neutral gravel like buff, slate or grey to blend with your house. For a softer feel, use a warm golden stone and edge the path with low growing thyme or creeping sedum. The grid keeps the gravel tight, so you can make neat borders even on a curve.
Mix materials if your budget allows. Use grids for the main path and loose gravel for a small seating area nearby. Or run a grid path up to a patio made from reclaimed pavers. The permeable surface means water will not pool at the transition point, which is a common problem with solid patios next to gravel areas.
Budget friendly options that actually hold up
You can spend anywhere from $1 to $5 per square foot on gravel stabilising grids. For a DIY garden path that sees foot traffic only, the lower end works fine. Look for unbranded recycled polypropylene panels sold in packs of ten or twelve. They are often the same product as the big names but without the markup.
For a driveway that will take a car, you want a thicker grid, around 40mm to 50mm. Even then, a mid-range option from a landscape supply store costs less than concrete and you skip the labour bill. One realistic example
#gravelstabilisinggrids #DIYgardenpath #permeabledriveway #gravelpatio #gardendesign
Leave a Comment